
This is the second part of a three part series. If you would like to view the first part, which shows you how to setup and install the Ghost blogger on an Amazon EC2 instance, navigate yourself to Setting up Ghost on Amazon EC2 . This second part we will now setup my domain name "brilliantbritz.com", which is hosted by GoDaddy, to use Amazon's Route53 and replace the IP address we used in the first part with the domain name we have in GoDaddy. This will be a short part since we have done all the heavy lifting in the previous part on EC2 instance.
Route 53
If you havent heard Route53 is Amazons routing engine used for exactly what we plan to use it for, which is to take requests given to brilliantbritz.com and route them to our Ghost blogger NodeJS server running on an EC2 instance. Now I know we could just could just use GoDaddy's name servers and redirected the incoming requests to our IP address or Elastic Beanstalk's domain name, but I wanted to use Google Analytics on my site(Spoiler Alert: the third part of this series sets up Google Analytics on EC2 and Ghost Blogger), and the redirect from GoDaddy mucks with the javascript snippet that you must have in your main page. So lets dive into Route53.
To get to Route53 you must log into your Amazon EC2 account, and from the management console you should see Route53. Once selected, you will see something like the image below:

Here we need to create our hosted zones. For the brilliantbritz.com domain I created one for brilliantbritz.com. Its important to note the . at the end of the hosted zone name. For those that are curious the . at the end of the domain is to let DNS know that is where the domain name ends. The next step is to create your 'Record Set'. To do this, first select the hosted zone you want to update then click on the "Go to Record Set" button on the top left corner of the hosted zone screen. This should take you to the configurations for the hosted zone you selected, and it should look like the image below minus a couple of rows.

The main information on this page is the dns names of Amazon's name servers. We need this information to swap out these name servers for the ones GoDaddy provides.
Now we need to add a couple of rows of configuration for allowing the GoDaddy domain name to be pointed to our Ghost blogger site. We need to add two A(Alias) records, so GoDaddy and Amazon can find eachother via domain name. To create an Record Set A record is simple, and can be done by clicking the Create Record Set button right above the record set table. This will open a window on the right, which will allow you to add the required information for your new record set like the image below.

We pretty much need to fill out this screen twice (for the two new A records we need to make). For the first brilliantbritz.com A record I filled in only the Value field with the Elastic IP address of my Amazon EC2 instance. I left the Name field blank because I want people to have the ability to just enter brilliantbritz.com without the www in front of it, and have them be directed to my site.
For the second A record, there is only one difference between the one we created before. The difference being that the Name field is now a asterix (*). This is to let Amazon now that when a request comes in on www.brilliantbritz.com or any other prefix it will be directed to the server hosting my Ghost blogger.
Configuration on EC2 Instance
The configuration we need to make on the EC2 instance is minimal. We just need to let Amazon allow for port forwarding and enable it on the EC2 instance. To do this ssh into the instance again and open up the necessary with this command:
sudo vi /etc/sysctl.conf
Within this file there is a line which looks like so:
net.ipv4.ip_forward = 0
Change the 0 to a 1 then save and quit. This allows the server to allow for port forwarding. Next we just need to enable the action we just did. To do this we need to enter the following command:
sudo sysctl -p /etc/sysctl.conf
Next, if you havent done this in the last part to this 3 part series, we need to actually alter the iptables so the port is actually forwarded. We do this with this command:
sudo iptables -A PREROUTING -t nat -i eth0 -p tcp --dport 80 -j REDIRECT --to-port 8080
Note: That is one command and not two.
Thats it for setting up the instance. Now lets login to GoDaddy and change their name servers for Amazon's Route53 ones.
GoDaddy Setup
Ok so GoDaddy is also a quick and easy setup because all we really need to do is replace its name servers with Amazon's. This is all done through their site and is very easy. This blog is not going through obtaining a domain name and buying it, so I will assume this is already done and ready to be configured.
Change Name Servers
First login to GoDaddy with your account which should take you to the main home page. Then select Domains which should drop down a table with all your registered domains with GoDaddy. For example the image below shows all of mine:
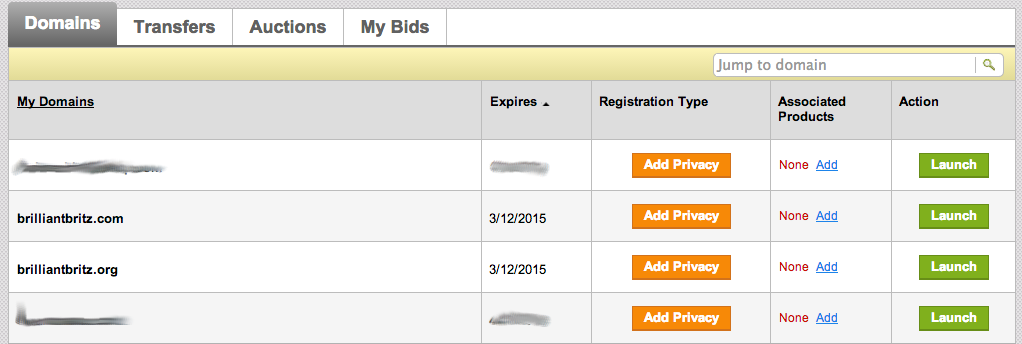
Now just select the domain name you want to use for Ghost by clicking the green Launch button. For me, that is the brilliantbritz.com. Once selected you get the screen like the one below:
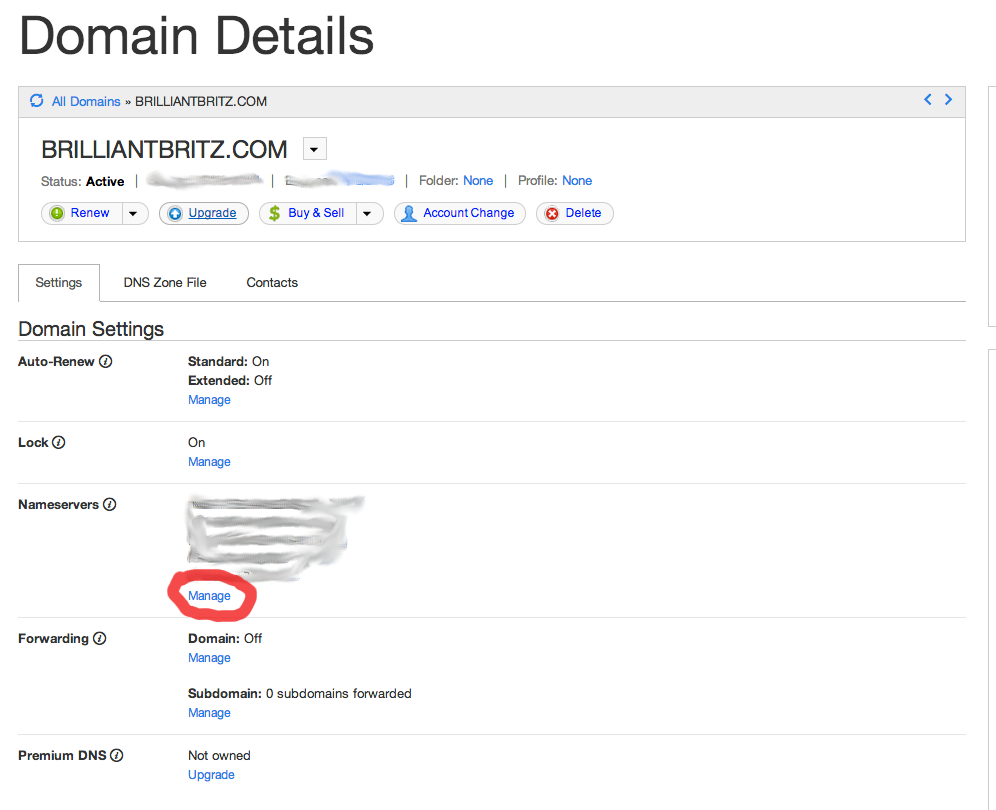
On this page we want to change the name servers, so just click the Manage link, that I have highlighted, under Nameservers section. This will bring up a modal window like the one below:

Now in the above image I have deleted the GoDaddy nameservers and added Amazon's nameservers already, so when finished your screen should have four entries all matching Amazon's nameservers that are listed within the Route53 Record Set.
Adding the servers is simple. Just click the Add Nameserver button and fill in the server you want to add then save. Do this for all nameservers listed in the Route53 'SOA' Record set. You can just simply do a copy and paste for each entry as I did.
Once done entering all the nameservers select green Save button. And thats it. It can take up to 24 hours for the changes to propagate, but I have seen changes within one. After the configurations are propagated then you should be able to hit your site at the domain name instead of the IP address of the server.
Next Step
In the next section I will go over setting up Google Analytics for your Ghost blogging site. Hope this helps and please leave any comments/questions, so I know this has helped/no helped you.